The cameras of modern smartphones are already directly approaching the quality of shooting of professional devices. But this, as a rule, only applies to phones in the upper price range. With simpler devices, everything is not so simple (although for most cases they are more than enough). At the same time, the shooting quality of any camera on almost any smartphone can be significantly improved. You just need to use a couple of tips that we will share with you right now.
This is perhaps one of the most obvious solutions. But also one of the most effective. At the same time, lenses for smartphone cameras, as a rule, are not as bulky as DSLR lenses. And you can easily carry several of them in your pocket at once: a wide-angle lens, a fisheye lens, a macro lens, and so on. This will help you achieve incredible photo quality that cannot be achieved with standard methods.
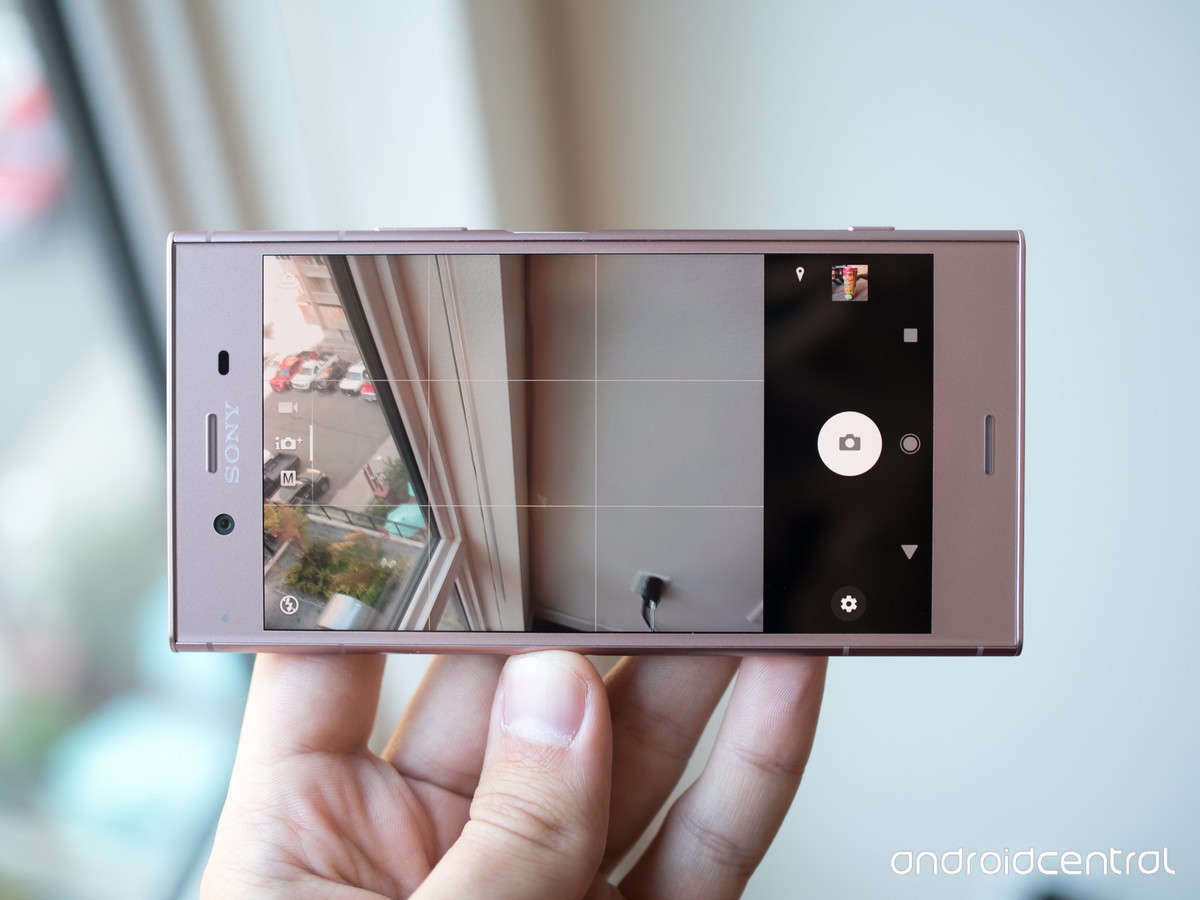
Use manual settings when shooting
In order to achieve the best quality of your pictures, it is much more productive not to rely on automation, but to set all the settings yourself: shutter speed, white balance, light sensitivity, and so on. At the same time, unlike “big” cameras, the picture settings on smartphones are not so “confusing” and understanding them will be as easy as shelling pears. So experiment with the settings and you'll be surprised how much the quality of your photos can improve.
Try a third-party photo app
There are plenty of apps that can take your smartphone photography to the next level. The most interesting thing, in our humble opinion, is the VSCO application. It has many powerful tools for adjusting quality and setting photo parameters, as well as an extensive gallery of filters and excellent ways to edit finished photos.
Notice the flash
The flash is a weak point for most smartphone cameras. And sometimes it is better to refuse to use it rather than take overexposed photos. Of course, ideally for a good photograph you need to set the light correctly. But even if you're shooting in low light, try taking photos without flash. Perhaps it will turn out much better.
Use a tripod
Many smartphones have a stabilization system, but it does not always work well, so in order not to have an unnecessary reason that can ruin your photo, take a tripod. Well, if you are going to take photographs “handheld”, then you can buy a stabilizer or, at worst, a selfie stick. This way the phone will shake much less. And, accordingly, the final photo will come out much better.
The camera has automatic settings that you can use to take instant photos and videos. However, the Camera provides several ways to control exposure, including controlling focus, turning the flash on and off, and changing white balance. You can take negative photos and apply other special effects.
In addition, the Camera contains settings for controlling the quality and duration of video recording, where to save photos, etc.
Camera settings depend on the features supported by your phone.
Changing Camera Settings
Camera mode settings
Settings. Click to open a scrollable list of settings:
Focus mode. Press to use automatic focus mode (Auto) or shoot quickly while focusing at infinity (Infinity) or close-up subjects (Macro). For more information about supported focusing features, see your phone's user guide.
Exposition. Press to change exposure.
Selecting a shooting mode. Tap to select a preset combination of camera settings designed for special shooting modes, such as shooting on the beach or shooting fireworks. For information about supported shooting modes, see your phone's user guide.
Photo size. Click the size of the image (in pixels) you want to take. On phones that support these sizes, VGA mode is defined as 640x480 pixels.
Image quality. Select the photo quality (that is, the ratio between photo quality and file size that will be used when saving the photo to a file).
Color effects. Click the special effect you want to use when shooting, such as monochrome, sepia, or negative.
Record location Select the checkbox to include the GPS location of your subject in each photo.
Location is stored with photo
Location is not stored with photo
White balance.
Automatically
Incandescent lamp
Daylight
Daylight lamp
Mainly cloudy
Flash mode. Tap to specify whether the Camera should use its own light measurements to determine when to turn on the flash, or whether or not to use the flash with each shot.
Automatically
Magnification 1x. Click to zoom in from 1x to 2x. For other scaling methods, see . For information about digital zoom support, see your phone's user guide.
Camera selection Tap to select the camera you want (if your phone has multiple cameras).
Rear camera
Front camera
Setting the Video mode
Just like in camera mode, the camcorder settings are displayed on the screen.
Settings. Click to open a scrollable list of settings:
Color effects. Click the special effect you want to use when shooting video, such as monochrome, sepia, or negative.
Restore default values. Click to restore all Camera settings to default.
White balance. Tap to choose how the Camera adjusts colors in different lighting conditions for natural-colored photos, or let the Camera adjust white balance automatically.
Many users of smartphones running on the Android operating system are often disappointed in the quality of photographs taken with the camera of their device, because in online reviews and other owners of similar devices the photos turned out much better. What could be the reasons for this problem and how to improve the camera on Android?
Some of the possible reasons:
- Camera defect;
- Errors in the operation of the Camera program;
- Incorrect camera settings.
Let's take a closer look at each of them.
1 Camera defect. Multi-colored stripes in the photo, spots, severe blurriness - this is most likely a defect in the camera itself. That happens. And if your smartphone is still under warranty, you should take it to the store for exchange or return it to a service center.
2 Errors in the operation of the Camera program. Firmware manufacturers sometimes make mistakes by releasing unfinished software for sale. Typical symptoms of such “hackwork” are: inverted colors in the photo, an inverted image, or the camera simply refuses to start.
What to do in this case? Fortunately, there are many programs that are analogous to a standard camera, and if you wish, you can install any of them, or even all at once, on your smartphone.
Applications - replacement for the standard “Camera”
HD Camera
An excellent application, with a huge number of manual settings, thanks to which you can adjust the image size (number of megapixels) and the quality of photo compression, as well as white balance and select different shooting scenes. As a bonus, there is a tilt position for the smartphone, which will allow you to take photos without blocking the horizon and the QR code scanner.


Download the HD Camera app on your smartphone: link
DSLR Camera
An excellent application with many settings that will make you feel like a real photographer. Among the useful functions, it is worth noting the choice of ISO, a visual histogram, a grid for convenient framing, tracking focus, white balance and much more.


Download the DSLR Camera app on your smartphone: link
3 Incorrect camera settings. It would seem a trifle, but many do not know that despite the stated presence in the cell of five, eight, thirteen, etc. megapixels, this parameter can be set arbitrarily. And when purchasing a device, it is not always set to maximum. Therefore, first of all, you should go into the settings of your camera and see what mode is set.

The higher the resolution of the image, the greater the likelihood that the photo will look better on a computer or TV screen. Also try adjusting the white balance (WB), it may be that it gives unrealistic colors.
It is very important to set up the camera on your smartphone and enjoy high-quality photos. And by the way, an important detail is the ability to turn off the sound when shooting. This greatly simplifies life in rooms where silence is required (for example: library, lecture room, etc.). To learn how to mute your camera, check out this article:
Have a nice photo!
It would seem that everyone should have thought of this, but many forget. Smartphones are with us everywhere, so the lens glass often gets dirty with fingerprints and dirt. You may not notice any stains, but it can't hurt to take a few seconds to wipe it down before taking that important photo.
This is especially important when shooting with a front-facing camera, as the lens is often separated from the main glass on top of the screen and is more likely to develop smudges. The front camera usually has lower resolution and image quality, so these spots are especially critical. By wiping your lens, you can significantly improve the quality of your photos.
Turn on the viewfinder grid
Most camera apps allow you to turn on the grid, but it's usually turned off by default. If your smartphone has this option, it will help you line up objects in your photos more evenly. Those lines on your screen may be annoying at first, but you'll soon realize the importance of separation and proportions in your photos.
Typically, the grid has a size of 3x3, which helps adhere to the principle of composition called the “rule of thirds”. Flat lines help you straighten out the horizon in photographs from a distance.
Use flash only as a last resort
They say that photography is the art of lighting. On smartphones with tiny camera sensors, this expression is especially true because they have difficulty receiving light. In low and mixed lighting, you may be tempted to turn on the flash, but resist the temptation. The flash is usually too bright for the subject in front of you and blurs it out. At the same time, it is not strong enough to illuminate a large space.
Instead, move your smartphone or subject to adjust the lighting. On most smartphones, you can focus the camera by tapping on a specific area of the screen to change the exposure. Often it's enough to simply light the subject instead of the background, which is something people don't usually think about.
Use a small tripod
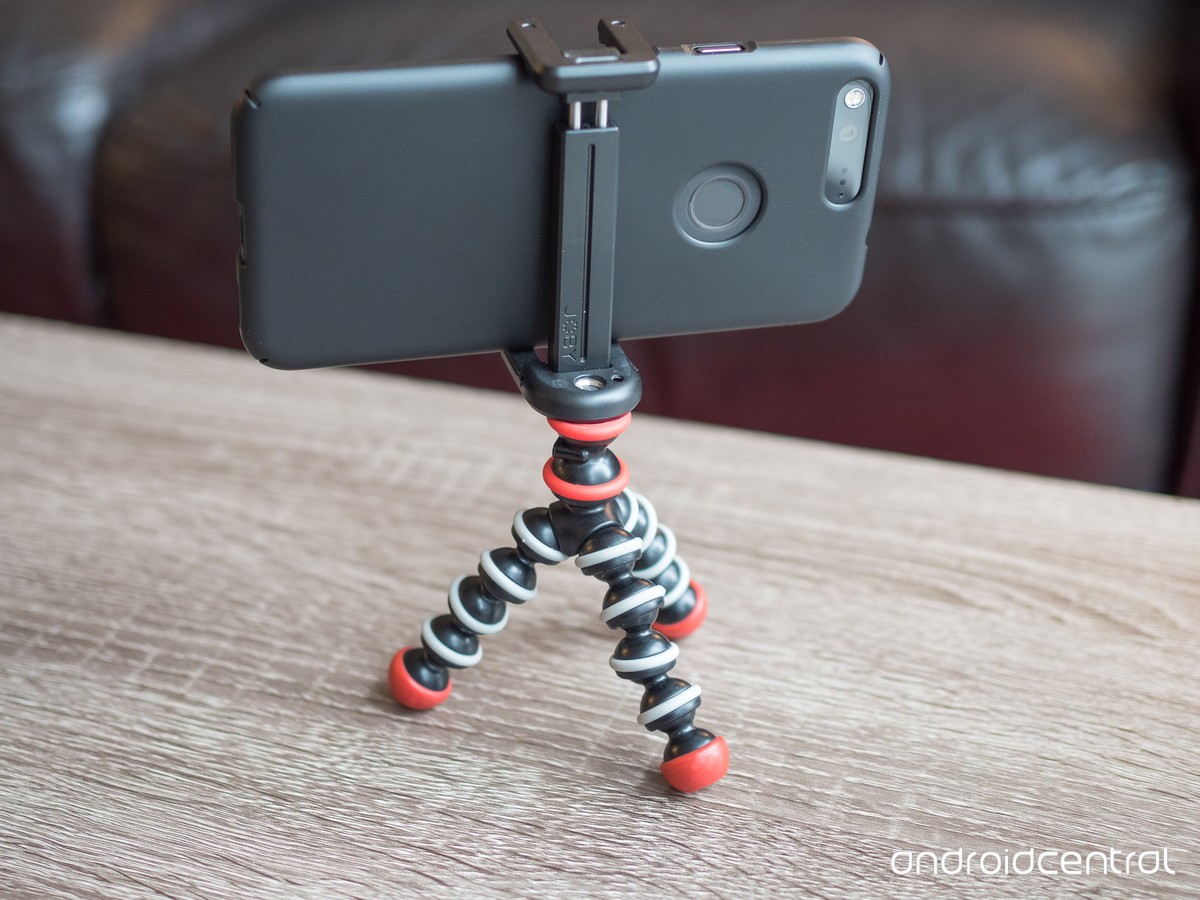
There are, but it is much more convenient to use a tripod from a smartphone. There are a variety of cheap models, from options with rigid legs to flexible legs and magnets at the bottom. Attach your smartphone and you can take different types of photos.
Tripods are useful when taking pictures of yourself without a selfie stick, and can also improve the quality of low-light photography by using a long shutter speed, just by holding the camera for a few seconds or a minute. A small tripod that fits in your pocket will greatly expand your photographic capabilities.
Use a backup service

Google Photos suitable for this in both free and paid versions, as well as Dropbox. The best services are those that perform backups regularly and automatically.
For several years now, smartphones have replaced point-and-shoot cameras in matters of amateur photography! This outcome is predictable, the mobile device is always with you, and also has a more compact body that easily fits into your pocket. On this basis, the quality of mobile photomodules is constantly growing, and some functions of the “big brothers” are getting mobile adaptation! One of these features is an advanced mode with manual settings.
Manual mode on smartphones allows you to control basic parameters: shutter speed, ISO sensitivity of the matrix, white balance and focal length. The adjustment range depends on the specific model. For example, it was used with Oxygen 4.1.6 (Android 7.1.1) on board.

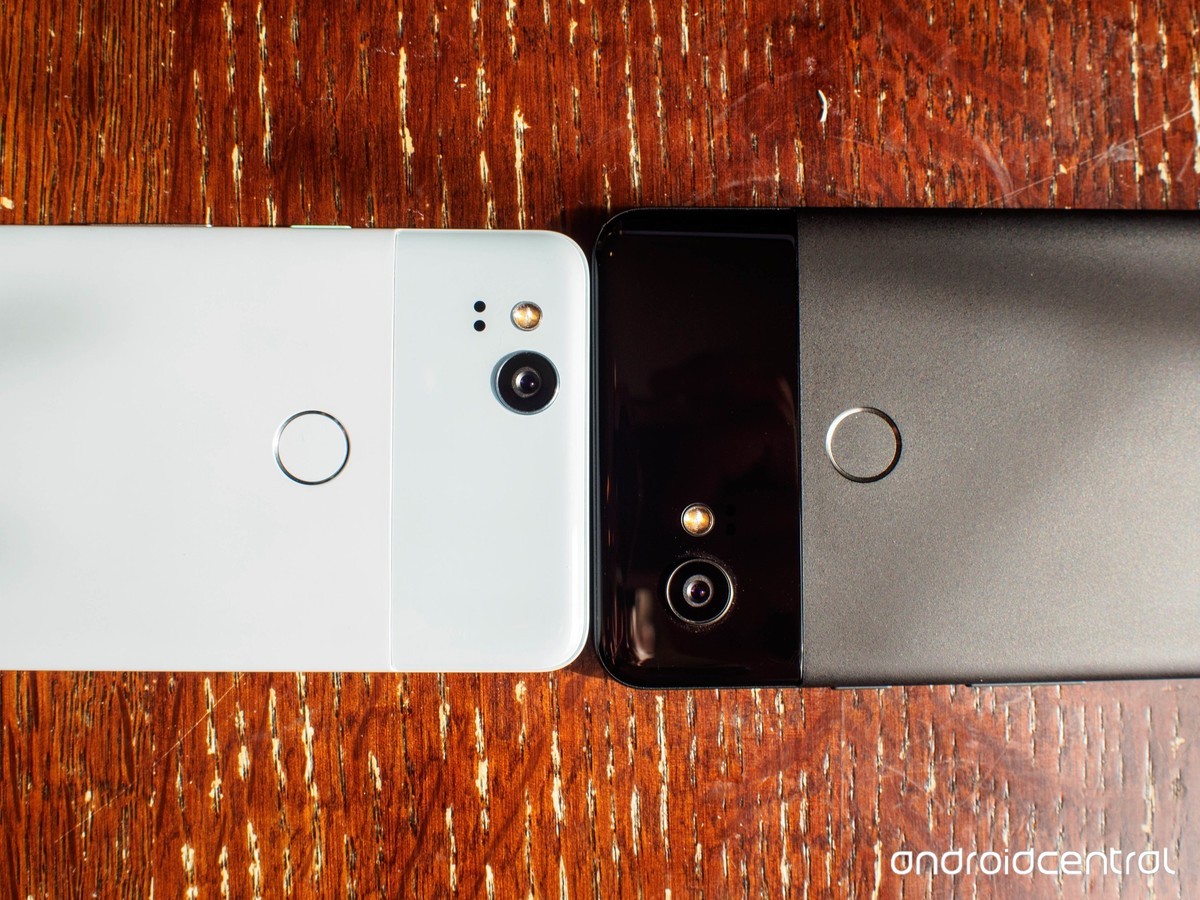
A full-fledged manual mode in smartphones first appeared in models of late 2014 - early 2015. Among the first were: Sony Xperia Z3, Samsung Galaxy S6, LG G4. There is no need to talk about newer smartphones. Manual mode in a modern flagship is not a unique feature, but part of the standard equipment.


Mid-price smartphones are also not standing still. ASUS Zenfone 3, presented last year, belongs to the mid-price segment, but at the same time received a good Sony Exmor IMX298 module combined with advanced software. Over time, more and more models in different price categories will receive similar capabilities.
Exposition
The story about manual mode should begin with this concept. What is exposure? - This is the amount of illumination of the matrix, which is determined by three parameters: aperture, shutter speed and photosensitivity. The last of them does not in any way affect the amount of light falling on the matrix, but is an excellent lever for regulating the illumination of the frame. In addition, due to the design features of the smartphone, the aperture value does not change - two levers remain in the hands of the mobile photographer.

It is worth considering that to achieve the same correct exposure, you can choose no combination of the specified parameters. The choice of a specific set largely depends on external conditions. More on how exactly, later in the article.
Excerpt
In technical terms, shutter speed determines the amount of time the shutter on the light sensor opens to capture light. The longer the shutter speed, the more light manages to reach the sensor, resulting in a more illuminated frame.


Shutter speed is measured in seconds; for modern digital cameras, the typical minimum value is 1/8000 of a second. The upper limit is determined by the software creators, in my case it is 30 seconds. It would seem that the shorter the shutter speed, the less time is spent creating the frame, which means short values are more profitable. However, the shutter speed is directly proportional to the amount of light that hits the sensor, therefore, at a short shutter speed there is a risk of getting too dark, underexposed frames. The opposite situation is also possible; the result of the shutter speed may be an overexposed frame, with similar aperture and light sensitivity values.
First of all, it is worth considering the dynamics of the movement of objects in the frame. The faster the subject moves, the faster the shutter speed is required to get a sharp photo. Second factor: the smartphone must remain static to avoid blurry photos. When the shutter speed is more than 1/15 second, it is recommended to fix the camera, for example, using a tripod or tripod, otherwise the clarity of the frame will be lost. The exception is smartphones with an optical stabilization system; with their help, you can get unblurred frames at longer shutter speeds handheld.


The second meaning of shutter speed is artistic. Depending on its length, you can convey the movement of objects in the frame in different ways. Or create photographs with the play of light, for example, patterns of light lines.
Photosensitivity
A parameter that determines the brightness of a photo, regardless of the amount of light that hits the matrix. Light sensitivity is indicated in ISO, the higher the value, the brighter the finished result. In the world of digital photography, the same values on different matrices give different results, so it is worth considering the specifics of each individual device.


By increasing the value you can compensate for a short shutter speed. You need to be careful, high values lead to digital noise, even completely damaging the photo.
Focal length
Smartphone autofocus systems are constantly evolving. From basic contrast to advanced phase! There are also hybrid systems that use a rangefinder laser - it works in any conditions. As a result of evolution, focusing time has decreased from one second to an average of 0.3 seconds in favorable conditions.The last sentence is key, because even modern systems are not always up to the task of poorly lit scenes. Autofocus takes an unacceptably long time to work or is completely wrong. In such situations, it is beneficial to use manual settings. Manual focusing is also beneficial when shooting the same subject using a tripod to avoid constant refocusing, and therefore eliminate errors and speed up the process.
White balance
White balance is a color correction option based on the temperature of the light source. Correctly selected values ensure the correct reproduction of colors in the photo. As a rule, smartphones use an advanced Kelvin scale in increments of 100 units. However, in the same OnePlus 3T only a few presets are available that determine the illumination of the frame: cloudy, daylight, and so on.

In the vast majority of cases, the automation works perfectly! Modern algorithms correctly process homogeneous light. Problems arise when a frame is illuminated by multiple sources with different color temperatures. A typical example is sunlight from a window and a fluorescent lamp in a room.
Why are manual settings useful?
Automation is an eternal compromise between shooting time and the quality of the resulting frame. The algorithms are aimed at quick handheld shooting and are unaware of what kind of frame the photographer wants to get. Also, exposure metering is not without its drawbacks; in difficult conditions, an error is possible! In this situation, the manual mode comes to the rescue, which, although it requires more time to prepare for shooting, however, in skillful hands it helps to get the best result.

Do not neglect such advanced capabilities of the smartphone camera. This is far from a useless feature; with its help you can get the most out of your mobile camera! The parameters described above are quite easy to understand, adopt and immerse yourself in the world of photography. It is possible that a simple smartphone is your ticket to the world of professional photography with the appropriate equipment and knowledge!


