When buying a new smartphone, you want to preserve the presentation of the gadget for as long as possible.
That is why it is common to buy protective glass or films along with the phone. With their help, the device screen can be protected from chips and scratches that form as soon as possible. We tell you how to properly apply protective film or glass at home.
Protective glass or film: what to choose?
When choosing a defense mechanism, every user asks the question - which is better? It is impossible to answer this question unequivocally, since each means of protection has pros and cons.
Protective glass provides reliability when the phone falls, but at the same time increases its thickness. The film is practically invisible during operation, and is also much cheaper, but the level of protection is lower. Despite the differences in certain parameters (degree of protection, price, durability), the principle of gluing these elements is the same.
Most protective accessories have brief instructions on the sticker, but manufacturers are silent about some factors, so we’ll look at each point step by step.
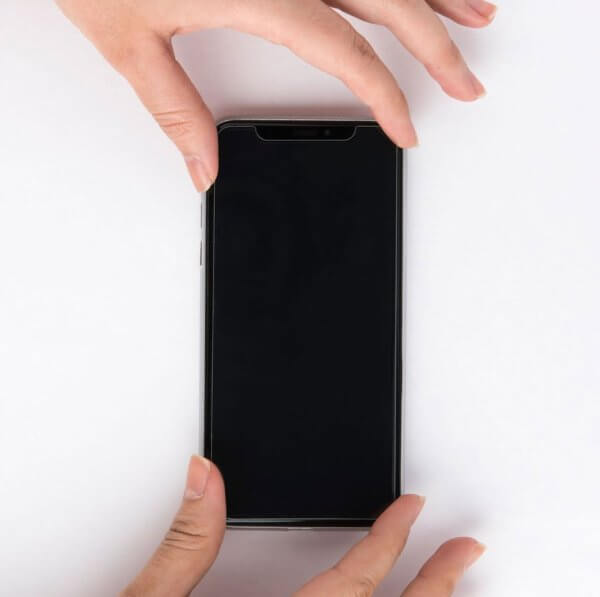
Preparing the place and accessories
Prepare your work area. Wipe the table where the sticker process will take place. It is recommended to place a desk lamp above the phone to better see “problem areas” on the screen. Additionally, do not forget to wash your hands with soap and dry them.
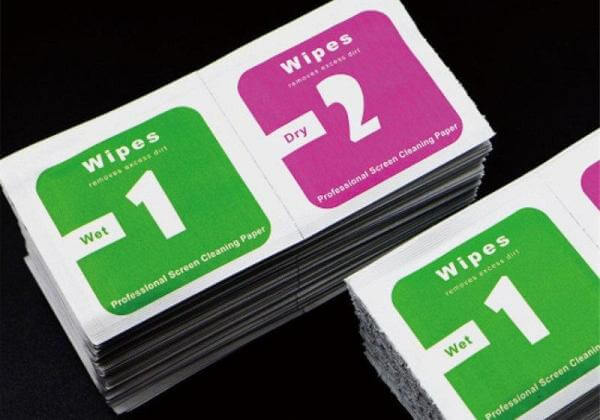
The glass or film usually comes with tools. In most cases the kit looks like this:
- The green “dry” bag is a dry cloth for cleaning the screen.
- Pink “wet” bag – a wet wipe for cleaning the display.
- A microfiber cloth that reduces the likelihood of picking up dust particles.
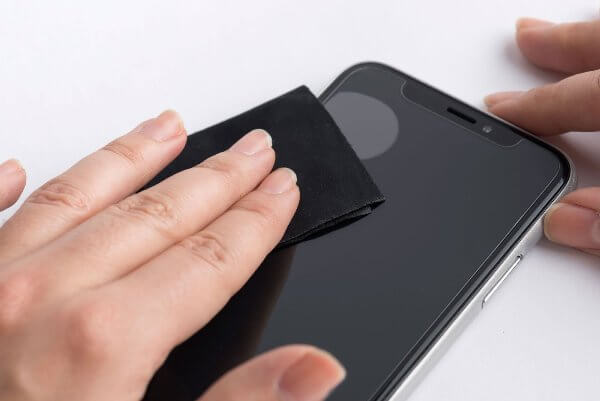
The first stage is cleaning the glass. Place your phone on the table. Pick up a napkin that says “wet” (sometimes it’s even numbered one). Wipe the smartphone screen with a damp cloth. Try to wipe the display so that not a single speck of dust is visible in the light. 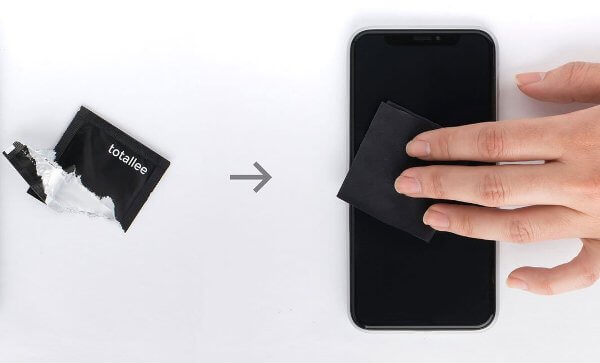
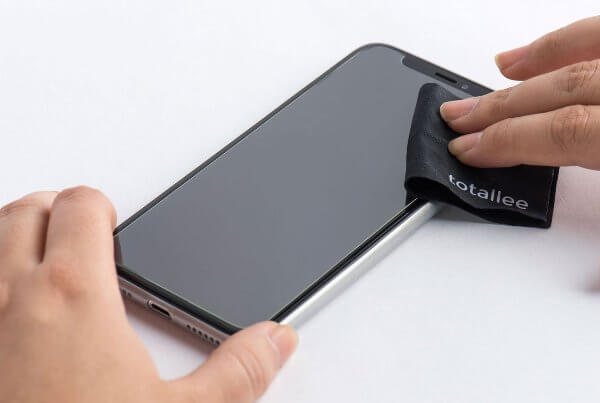
The second stage is “drying”. Now take a second rag labeled “dry” (similar to the previous napkin, numbered two) and wipe the screen dry. Please note that your fingers should not touch the display.
The third stage is “intermediate”. Some manufacturers include an adhesive film in the kit to further rid the screen of dust particles. If you have such a tool, just stick it on the display and peel it off after a couple of seconds.
Working with glass
Pick up some protective film or glass. Look at her carefully. Manufacturers supply protective equipment with a special tongue to make it easier for a person to peel off the “sticky” part.
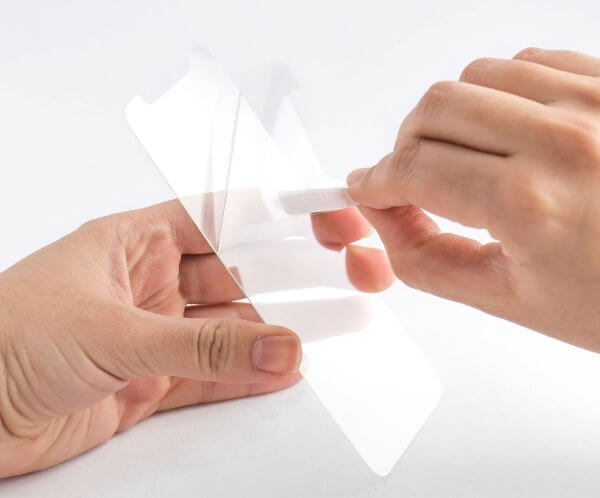
Having carefully peeled off the “adhesive part”, take the special glass by the “edges” and begin to slowly apply it to the phone. It is extremely important to ensure that the contours of the film and the screen match. While “aiming”, do not press on the display.
Release the glass. While it gradually sticks, make sure that there are no dust particles or bubbles anywhere. If no problems are found, effortlessly (lightly) swipe your finger across the center of the screen. If you notice any air bubbles, take a dry cloth and push them towards the edges of the display.
Once you are sure that there are no dust or air bubbles left under the glass, wipe the display again with a dry cloth.
Dust particles as a separate problem
There is a possibility of noticing a speck of dust after the procedure is completed. In such cases, you will need to re-raise the glass. This operation can be performed using a bank card. Additionally, take a small strip of stationery tape.
- Pick up the edge of the glass that is closest to the speck of dust.
- Place a piece of tape on the problem area
- Quickly tear it away from the screen.
- Return the protective glass to its original position.